Overview
- TestFlight is Apple’s free official beta testing platform for distributing iOS apps before App Store launch.
- TestFlight provides free, Apple-integrated beta distribution with crash reporting, tester feedback, and usage metrics.
- Upload a build via Xcode, configure testers in App Store Connect, send invites, collect crash reports.
In today’s digital world, mobile apps have become a vital part of our daily lives. According to Statista, as of 2021, there were 3.48 million mobile apps available for download on the Google Play Store and 2.22 million on the Apple App Store. With such a large number of apps available, it is essential for developers to ensure that their app is bug-free, user-friendly, and performs as expected. That’s where TestFlight comes in. TestFlight is a powerful tool for iOS app developers that allows them to distribute beta versions of their apps to testers for feedback and bug testing. In this blog, we will discuss how to test an app with TestFlight, including what it is, its benefits, and a detailed procedure on how to use it.
TestFlight supports up to 10,000 external beta testers per app. Apple processes TestFlight builds within 1-2 days (external testers) or instantly (internal testers). 68% of top iOS apps use TestFlight for beta testing before App Store submission.
Your Competitors Are Already Online.Mobile App · Web · Software Development — Don't Get Left Behind.
What Is TestFlight?
TestFlight is Apple’s official beta testing platform, built into App Store Connect, that allows iOS developers to distribute pre-release builds of their apps to testers before the App Store submission. It is the standard and recommended method for iOS beta distribution — used by 68% of professional iOS development teams and required by most enterprise clients before any App Store submission. TestFlight supports two testing tiers: internal testing (up to 100 designated team members — developer accounts — receive builds instantly without review), and external testing (up to 10,000 testers who receive an email invitation — these builds require a brief Apple beta review, typically 1-2 business days in 2026). TestFlight builds expire after 90 days, at which point testers must update to the latest build to continue testing.

Benefits Of TestFlight
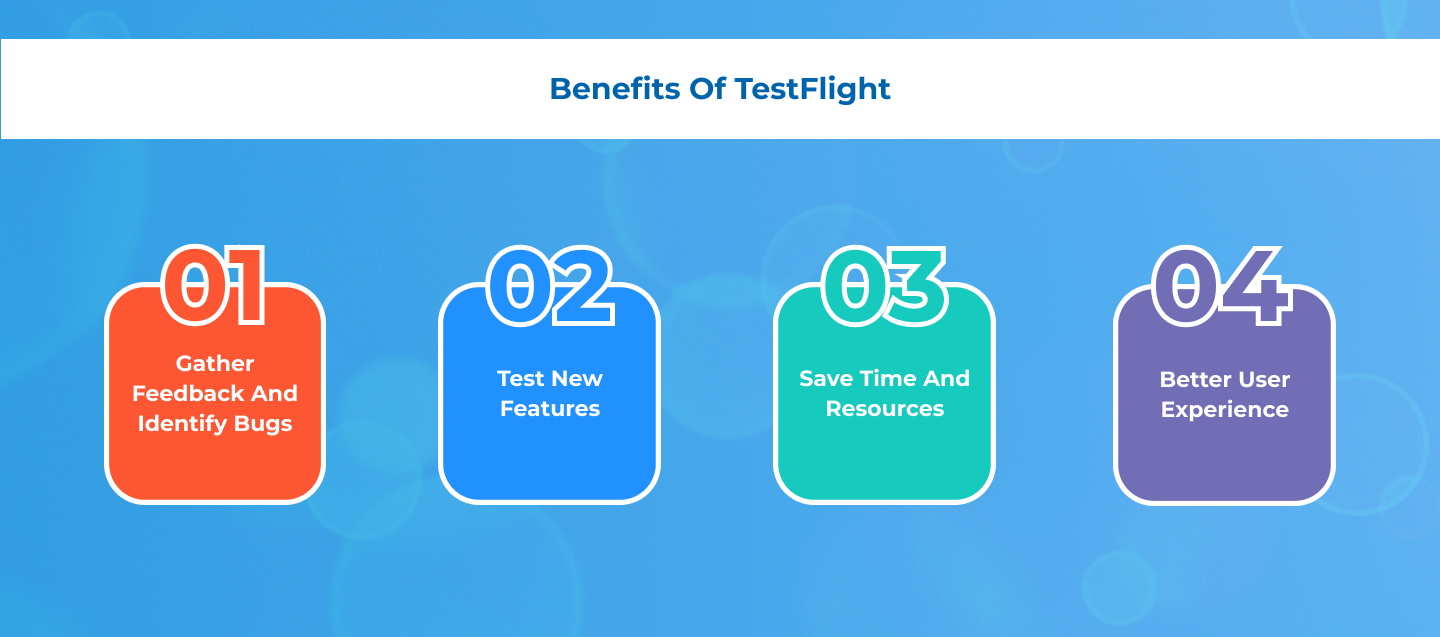
TestFlight’s advantages over alternative iOS beta distribution methods (enterprise certificates, ad hoc distribution) are significant. It is free for both developers and testers. It installs as a standard Apple-approved app from the App Store, with no certificate management, no device UDID registration, and no enterprise provisioning complexity. It automatically collects crash logs and sends them to App Store Connect, where developers can review them without requiring testers to file formal bug reports. It provides usage session analytics showing which features testers interact with and where sessions end. And it provides a built-in feedback mechanism — testers can send screenshots with annotations directly from the TestFlight app. For professional iOS development, there is simply no better beta distribution option available.
● Gather feedback and identify bugs
One of the primary benefits of TestFlight is the ability to gather feedback and identify bugs before releasing the app to the public. With TestFlight, developers can invite up to 10,000 testers to participate in their beta testing program. This means that developers can gather valuable feedback from a large pool of testers, helping them identify any bugs or issues before the app is released to the public. This feedback can also help developers understand how users interact with their app, allowing them to make necessary changes to improve the user experience.
● Test new features
Another benefit of TestFlight is the ability to test new features before releasing them to the public. This is especially important for apps that rely on new and innovative features to stand out in the crowded app market. TestFlight allows developers to test new features with a group of beta testers, enabling them to gather feedback and identify any potential issues or bugs before releasing the feature to the public.
| TestFlight Feature | Internal Testing | External Testing |
|---|---|---|
| Max Testers | 100 (Apple Developer account holders) | 10,000 (any Apple ID holders) |
| Build Review | No review needed — instant | Apple beta review: 1-2 days |
| Invitation Method | Added in App Store Connect | Email invite link |
| Build Expiry | 90 days | 90 days |
| Crash Reporting | Automatic via App Store Connect | Automatic via App Store Connect |
| Tester Feedback | Screenshot + annotation tool | Screenshot + annotation tool |
| Multiple Builds | Up to 100 builds per app | Up to 100 builds per app |
● Save time and resources
Using TestFlight can save developers time and resources. By testing their app with a group of beta testers, developers can identify and fix issues before releasing the app to the public. This can prevent negative reviews and ensure a better user experience for everyone. Additionally, TestFlight provides detailed analytics and crash reports, which help developers identify potential problems and improve the overall performance of their app. This means that developers can make necessary changes before the app is released, saving them time and resources in the long run.
● Better user experience
Finally, TestFlight helps developers create a better user experience for their app users. By gathering feedback and identifying bugs, developers can make necessary changes to improve the app’s usability and functionality. This leads to a better user experience, which can help increase user engagement and retention.
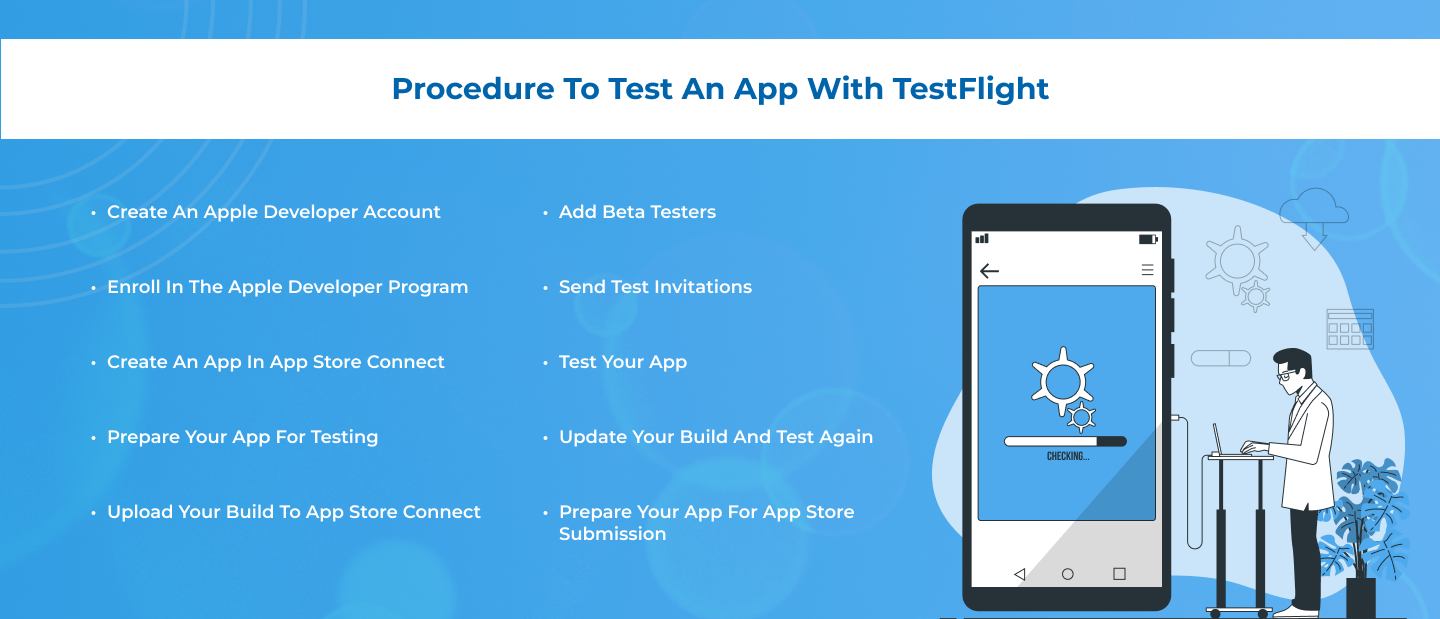
Procedure to Test an App with Test Flight:
TestFlight is a powerful tool that allows developers to test their iOS and watchOS apps before they are released to the public. With TestFlight, developers can invite beta testers to test their app, gather feedback, and fix any issues before the app is released to the App Store. Let’s go through the procedure to test an app with TestFlight, step-by-step.
Step 1: Create an Apple Developer Account
Before you can use TestFlight, you need to have an Apple Developer Account. If you don’t have one already, you can sign up for an account on the Apple Developer website. To sign up, you need to provide some basic information such as your name, address, and payment details. You also need to agree to the Apple Developer Program License Agreement.
Step 2: Enroll in the Apple Developer Program
Once you have created your Apple Developer Account, you need to enroll in the Apple Developer Program. The Apple Developer Program is a membership program that provides access to a variety of resources and tools, including TestFlight. To enroll in the program, go to the Apple Developer website, log in to your account, and follow the enrollment process. There is an annual fee of $99 for individual accounts and $299 for organization accounts.
Step 3: Create an App in App Store Connect
After you have enrolled in the Apple Developer Program, you need to create an app in App Store Connect. App Store Connect is a platform that allows you to manage your apps and view their analytics. To create an app, log in to App Store Connect and click on the “My Apps” tab. Then, click on the “+” button to create a new app. You will need to provide some basic information about your app, such as its name, description, and icon.
Step 4: Prepare Your App for Testing
Before you can test your app with TestFlight, you need to prepare your app for testing. This involves building your app and creating an archive of the build. To do this, you can use Xcode or Application Loader. Make sure that your build is configured for testing and includes any necessary dependencies and resources.
Step 5: Upload Your Build to App Store Connect
After you have prepared your app for testing, you need to upload your build to App Store Connect. To do this, go to the “My Apps” tab in App Store Connect and select the app you want to test. Then, click on the “App Store Connect” button and select “TestFlight” from the menu. From here, you can upload your build by clicking on the “+” button and selecting your build from your computer.
Step 6: Add Beta Testers
Once your build is uploaded, you can add beta testers to test your app. To do this, click on the “TestFlight” tab in App Store Connect, then click on the “External Testers” tab. From here, you can invite testers to test your app. You can invite up to 10,000 testers. You can also create groups of testers and assign different builds to different groups.
Step 7: Send Test Invitations
After you have added your testers, you can send them test invitations. Test invitations include a link that allows testers to download and install your app. To send invitations, go to the “TestFlight” tab in App Store Connect, then select the build you want to test. From here, you can send invitations to your testers by clicking on the “Send Invitation” button and selecting the testers you want to invite. You can also customize the invitation message and include instructions on how to test your app.
Step 8: Test Your App
Once your testers have downloaded your app, they can test it and provide feedback. Testers can submit feedback using the TestFlight app or by sending an email to the developer. As the developer, you can view the feedback and make any necessary changes to your app. You can also use TestFlight to track how many testers have installed your app, how many crashes have occurred, and other metrics.
Step 9: Update Your Build and Test Again
After you have received feedback from your testers, you may need to make changes to your app. To do this, you can update your build and upload it to App Store Connect. You can then send invitations to your testers to test the updated version of your app. You can repeat this process as many times as necessary until you are satisfied with your app.
Step 10: Prepare Your App for App Store Submission
Once you have completed testing your app with TestFlight and are satisfied with its performance, you can prepare your app for submission to the App Store. This involves creating a release version of your app, creating app screenshots and a description, and submitting your app for review by Apple. If your app is approved, it will be available for download on the App Store.
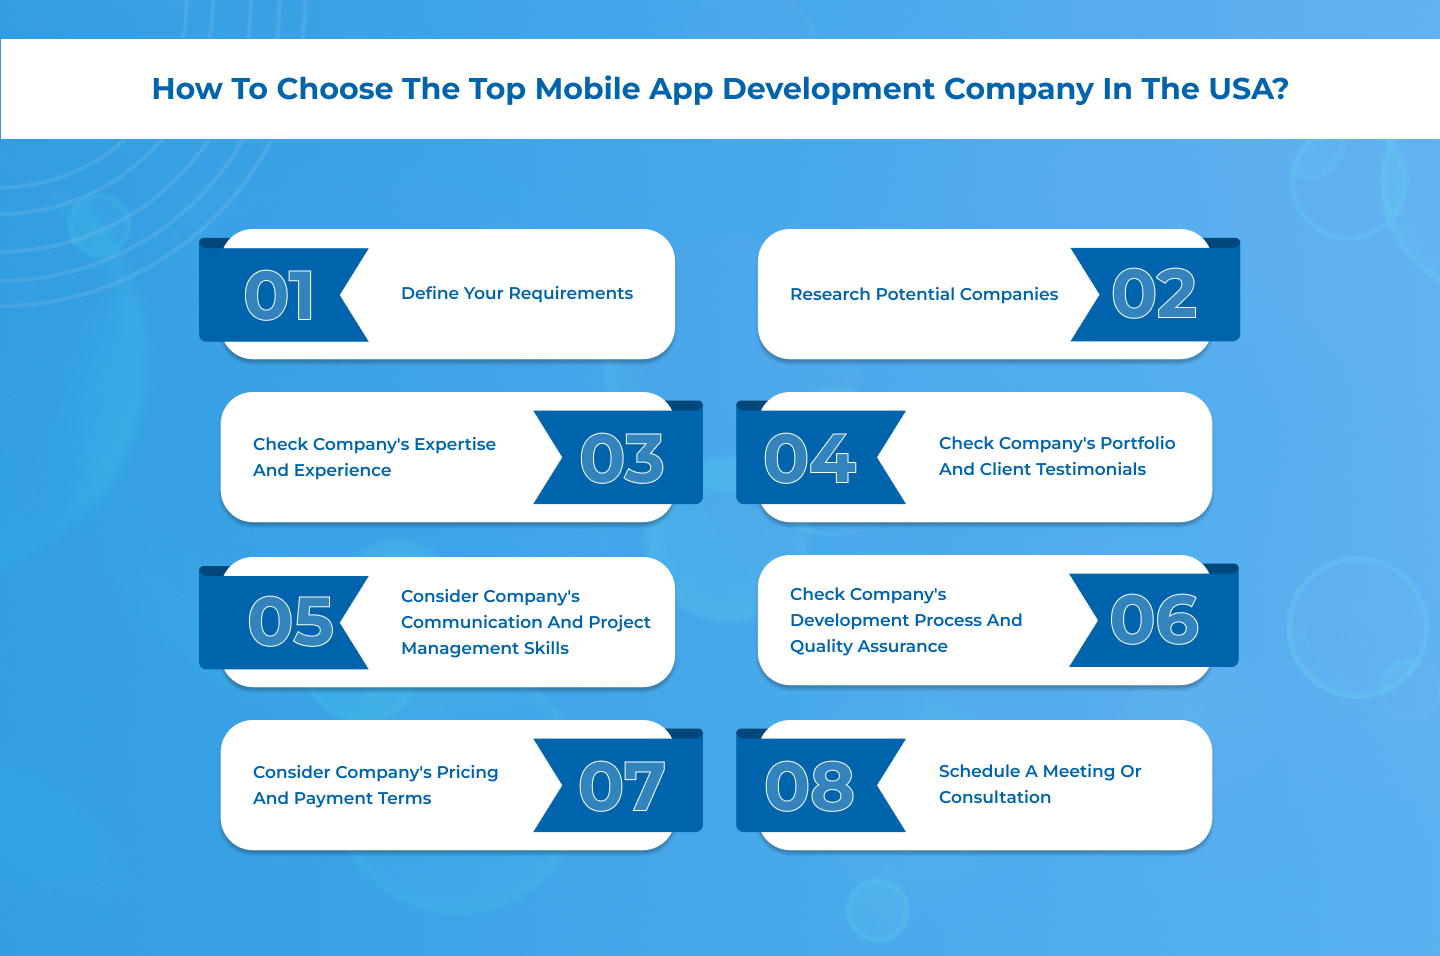
How To Choose The Top Mobile App Development Company In The USA?
Choosing the right mobile app development company can be a daunting task, especially with so many options available in the USA. The success of your app depends on the expertise and experience of the development team, so it’s important to choose a company that meets your requirements and can deliver high-quality results. Follow the process to choose the top mobile app development company in the USA:
Step 1: Define Your Requirements
Before you start looking for a mobile app development company, it’s important to define your requirements. This includes identifying the type of app you want to develop, the platforms you want to target, and the features you want to include. You should also determine your budget and timeline for the project.
Step 2: Research Potential Companies
Once you have defined your requirements, you can start researching potential mobile app development companies. You can do this by searching online, asking for referrals from colleagues or industry experts, or attending industry events. Look for companies that have experience developing apps similar to yours, have a strong portfolio, and have positive reviews from previous clients.
Step 3: Check Company’s Expertise and Experience
The next step is to check the expertise and experience of the mobile app development companies you are considering. Look for companies that have experience developing apps for the platforms you want to target, such as iOS, Android, or hybrid platforms. Check their technical expertise, such as their proficiency in programming languages and development frameworks.
Step 4: Check Company’s Portfolio and Client Testimonials
It’s important to check the portfolio and client testimonials of the mobile app development companies you are considering. This will give you an idea of the type of apps they have developed in the past and their success rate. Look for companies that have a diverse portfolio and have worked with clients in your industry or niche.
Step 5: Consider Company’s Communication and Project Management Skills
Communication and project management are critical factors in the success of any mobile app development project. Look for companies that have clear communication channels, such as a project manager or a dedicated contact person. Check their project management methodology, such as Agile or Waterfall, and ensure that it aligns with your requirements.
Step 6: Check Company’s Development Process and Quality Assurance
A reliable mobile app development company should have a well-defined development process and a robust quality assurance process. Look for companies that follow industry best practices, such as conducting regular code reviews, performing automated and manual testing, and ensuring compliance with app store guidelines.
Step 7: Consider Company’s Pricing and Payment Terms
The cost of mobile app development can vary depending on the complexity of the project and the hourly rates of the development team. Look for companies that offer transparent pricing and payment terms, such as fixed-price or hourly rates. Consider the payment schedule, such as upfront payment or milestone-based payments, and ensure that it aligns with your budget and timeline.
Step 8: Schedule a Meeting or Consultation
Once you have shortlisted a few mobile app development companies, schedule a meeting or consultation to discuss your project requirements and get a quote. This will give you an opportunity to assess the company’s communication skills, responsiveness, and professionalism.
Conclusion:
TestFlight is a powerful tool for iOS app developers that allows them to distribute beta versions of their apps to testers for feedback and bug testing. It is integrated into Apple’s App Store, making it easy for developers to distribute their app to a large number of testers quickly. TestFlight provides many benefits, including easy distribution, feedback, bug testing, and version control. By following the step-by-step guide on how to test an app with TestFlight, developers can ensure that their app is bug-free, user-friendly, and performs as expected before releasing it to the public.
Your Competitors Are Already Online.Mobile App · Web · Software Development — Don't Get Left Behind.
FAQs
Q: How many testers can I have on TestFlight?
TestFlight supports up to 100 internal testers (Apple Developer account members from your team) and up to 10,000 external testers (any iPhone user with an Apple ID). External testers do not need to be in your developer organization — you send them an invitation link via email or a public TestFlight URL. For most app projects, 50-200 external beta testers provides statistically meaningful feedback before App Store submission.
Q: How long does TestFlight beta review take?
TestFlight external beta builds require Apple’s beta review, which takes 1-2 business days in 2026. Internal TestFlight builds (distributed to your own Apple Developer account members) do not require review and are available immediately after upload. The beta review checks for crashes, basic functionality, and compliance with TestFlight-specific policies — it is less rigorous than the full App Store review but catches critical issues.
Q: Can I use TestFlight without an Apple Developer account?
You need an Apple Developer Program membership ($99/year) to distribute apps via TestFlight — as the developer uploading and distributing the build. Beta testers who receive your TestFlight invitation do not need an Apple Developer account — they just need an Apple ID and the free TestFlight app installed on their device. TestFlight invitations can be sent to any email address associated with an Apple ID.
Q: What is the difference between TestFlight and the App Store?
TestFlight distributes pre-release, work-in-progress builds to a limited group of testers for quality assurance before public release. The App Store distributes final, fully reviewed builds to all iPhone and iPad users globally. TestFlight builds expire after 90 days and are limited to 10,000 external testers. App Store submissions undergo a more rigorous review process (24-48 hours average in 2026) and, once approved, are available to the global iOS user base indefinitely.
Q: How do I get feedback from TestFlight testers?
TestFlight provides three built-in feedback channels:
- CrashReports — Automatically captured and sent to App Store Connect when the app crashes during a tester session, with full stack traces.
- Screenshot Feedback — Testers can take a screenshot within the TestFlight app and send it with annotations and a written note directly to App Store Connect.
- App Store Connect Email — you can email all TestFlight testers directly from App Store Connect with specific testing instructions or feedback request prompts. Additionally, many teams complement TestFlight with a supplementary feedback channel — a Slack channel, a Notion form, or a brief Typeform survey sent to testers weekly.